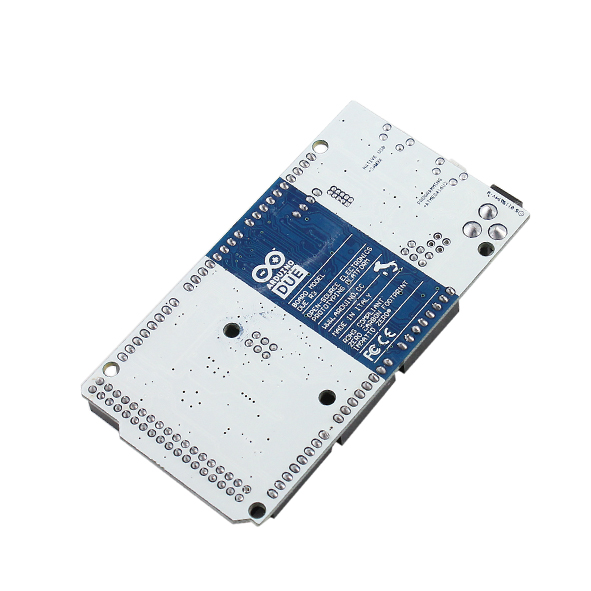
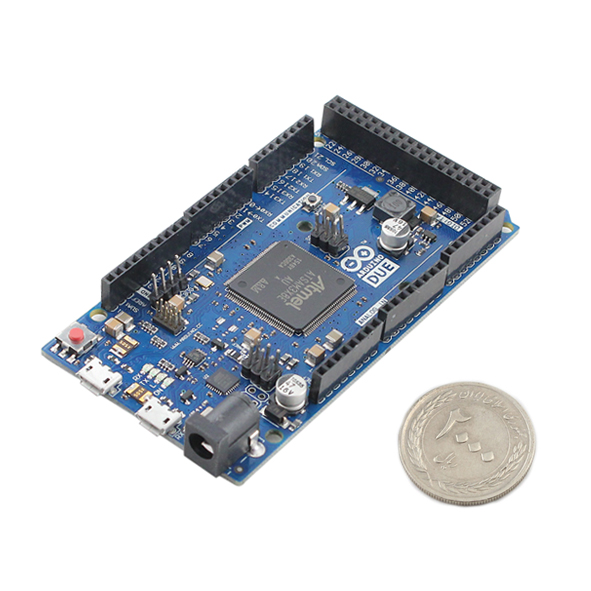
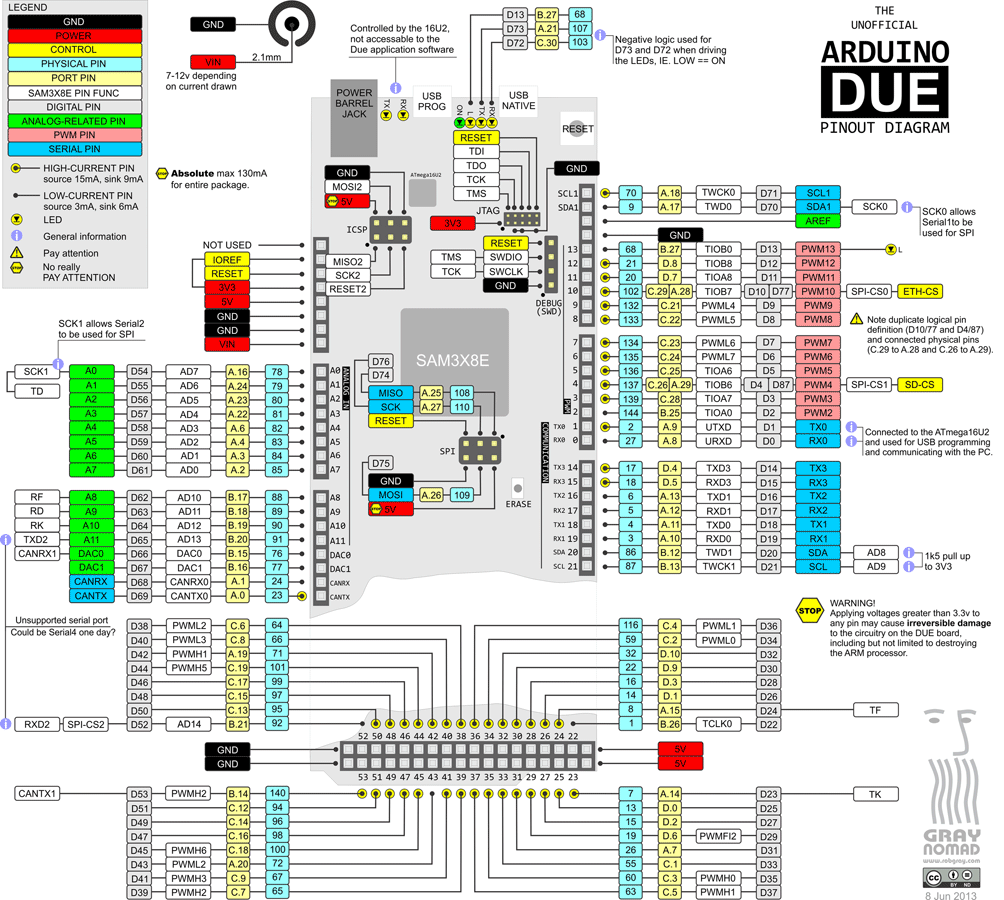
برد آردوینو Due با پردازنده ARM Cortex M3

Arduino_DUE_R3

72-67-1012

960,000 تومان
در حال حاضر موجود نمی باشد


خرید کالا


علاقه مندان : 12 نفر
وضعیت : فعال

تعداد مرجوعی : 0
دنبال کنندگان : 12 نفر

قدمت : 11 سال و 3 ماه و 17 روز
وزن : 36 گرم

کل فروش : 866 عدد
تعداد سفارش ها : 560 سفارش

4 از 5.0 با 47 رای
برد آردوینو Due با پردازنده 32 بیتی ARM و هسته اصلی Cortex-M3

بورد آردوینو Due یک میکروکنترلر بر پایه SAM3X8E ARM Cortex-M3 CPU از شرکت Atmel می باشد. این برد، اولین برد آردوینویی است که بر اساس میکروکنترلر با هسته ARM 32 بیتی پایه ریزی شده است. دارای 54 پین دیجیتال ورودی/خروجی (که 12 تای آن می تواند به عنوان خروجی PWM استفاده شود)، 12 ورودی آنالوگ، 4 پورت UARTs (پورت های سریال سخت افزاری)، و یک ساعت 84 مگاهرتزی، an USB OTG capable connection ، یک DAC (دیجیتال به آنالوگ)، 2 عدد TWI، یک پاور جک، یک SPI header، یک JTACG header، یک دکمه ریست و یک دکمه پاک کردن می باشد.
برد Arduino Due با پردازنده ARM Cortex-M3 شامل امکاناتی می باشد که ارتباط با کامپیوتر، سایر بردهای آردوینو، و یا دیگر میکروکنترلرها یا دستگاه های دیگر مانند تلفن ها، تبلت ها، دوربین ها و مانند آن را مقدور می سازد. SAM3X، یک سخت افزار UART و سه سخت افزار UARTs برای رابط سریال TTL (3.3 ولت) فراهم می کند و هرچیزی را که جهت پشتیبانی از میکروکنترلر مورد نیاز است، شامل می شود؛ برای آغاز کار، برد را با یک کابل micro-USB به سادگی به کامپیوتر متصل کنید و یا با یک آداپتور AC-to-DC یا باتری، به آن ولتاژ بدهید. برد Due با همه شیلدهای آردوینو که با 3.3 ولت کار می کنند، و همچنین با 1.0 Arduino pinout سازگار است.

هشدار: بر خلاف دیگر بردهای آردوینو، برد آردوینو Due با ولتاژ 3.3 ولت کار می کند. حداکثر ولتاژی که پین های ورودی/خروجی می توانند تحمل کنند همین 3.3 ولت است. اعمال ولتاژ های بالاتر همچون 5ولت به یک پین ورودی/خروجی، می تواند به برد آسیب بزند.

هشدار : حداکثر ولتاژ ورودی بردهای آردوینو غیر اورجینال 9 ولت می باشد در صورت اعمال ولتاژ 12 ولت ( ذکر شده در دیتاشیت ) برد دچار آسیب می گردد.


کاربرد برد آردوینو Due با پردازنده ARM Cortex M3:

  1. پروژه های الکترونیک 
  2. سیستم کنترل محیط
  3. اینترنت اشیاء
  4. هوشمندسازی

مشخصات برد آردوینو Due با پردازنده ARM Cortex M3:

  1. میکروکنترلر : AT91SAM3X8E
  2. ولتاژ عملیاتی : 3.3 ولت 
  3. ولتاژ ورودی (پیشنهادی) : 7 تا 12 ولت 
  4. ولتاژ ورودی (محدوده) : 6-16 ولت
  5. پین های دیجیتال ورودی/خروجی : 54 (12 تای آن خروجی PWM تولید می کنند)
  6. پین های ورودی آنالوگ : 12
  7. پین های خروجی آنالوگ : 2 (DAC )
  8. کل جریان خروجی DC روی تمام خطوط ورودی/خروجی : 130 میلی آمپر
  9. جریان DC جهت پین 3.3 ولت : 800 میلی آمپر
  10. جریان DC جهت پین 5 ولت : 800 میلی آمپر
  11. حافظه فلش : 512 کیلوبایت جهت برنامه های کاربر 
  12. SRAMحافظه : 96 کیلوبایت (دو عدد بانک : 64 کیلوبایت و 32کیلوبایت)
  13. سرعت ساعت : 84 مگاهرتز

مستندات:
توضیحات Arduino_DUE_R3
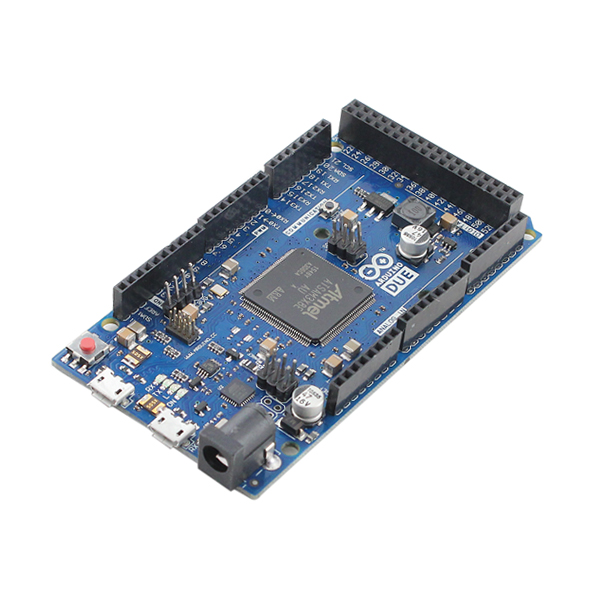

Description:
ARDUINO DUE board is one of the most powerful development boards in the ARDUINO series. DUE board not only has tons of features it also has terrific processing speed making it suitable for advanced applications.
DUE could be considered as the professional board considered UNO as a beginner board.
The DUE board also developed on the ARM controller series whereas other boards are developed on the ATMEGA controller series.
Although ARDUINO boards are usually popular, DUE is least popular because of controller being ARM and I/O pins +3.3v OUTPUTS are not compatible with most sensors.
Though it is least popular it is most recommended when designing complex systems like CNC or 3D printer. Also, the ARDUINO DUE is an open-source platform where one can get all related data and original module schematics. So you can customize the system depending on the need.
The Arduino Due can be powered via the USB connector or with an external power supply. The power source is selected automatically.
External (non-USB) power can come either from an AC-to-DC adapter (wall-wart) or battery. The adapter can be connected by plugging a 2.1mm center-positive plug into the board's power jack. Leads from a battery can be inserted in the Gnd and Vin pin headers of the POWER connector.
DUE is used similar to any other development board.
All that needs to be done is programming the controller and provide the appropriate peripheral to get a system running. We will discuss the programming of DUE in step by step below.
1- DUE can be programmed by connecting both USB ports to the PC. Although there are two, PROGRAMMING PORT is preferred over a NATIVE USB port in order to avoid the controller crashing during programming.
So connect DUE to PC using PROGRAMMING port is ideal.
2- Download and install ARDUINO IDE software.
3- Next, get the link between PC and DUE. Run a test program to blink LED provided on board.
4- List the functions to be performed by DUE.
5- Write the functions as a program in IDE.
6- Remember for ARDUINO IDE the program is written in ‘C’ language.
7- After completing the writing. Burn the program to DUE through IDE.
8- Disconnect the programmer. Provide the power and attach the necessary peripherals. After resetting the controller, it executes the program and provides the desired output.
Application:
DIY Project
smart home
Data Monitoring
Features:
Microcontroller: AT91SAM3X8E
Operating Voltage: 3.3V
Input Voltage (recommended): 7 ~ 9V
Digital I/O Pins: 54 (of which 12 provide PWM output)
Analog Input Pins: 12
Analog Output Pins: 2 (DAC)
Total DC Output Current on all I/O lines: 130 mA
DC Current for 3.3V Pin: 800 mA
DC Current for 5V Pin: 800 mA
Flash Memory: 512 KB all available for the user applications
SRAM: 96 KB (Two banks: 64KB and 32KB)
Clock Speed: 84 MHz