
موجودی انبار : 6 عدد
هنوز هیچ رایی ثبت نشده است
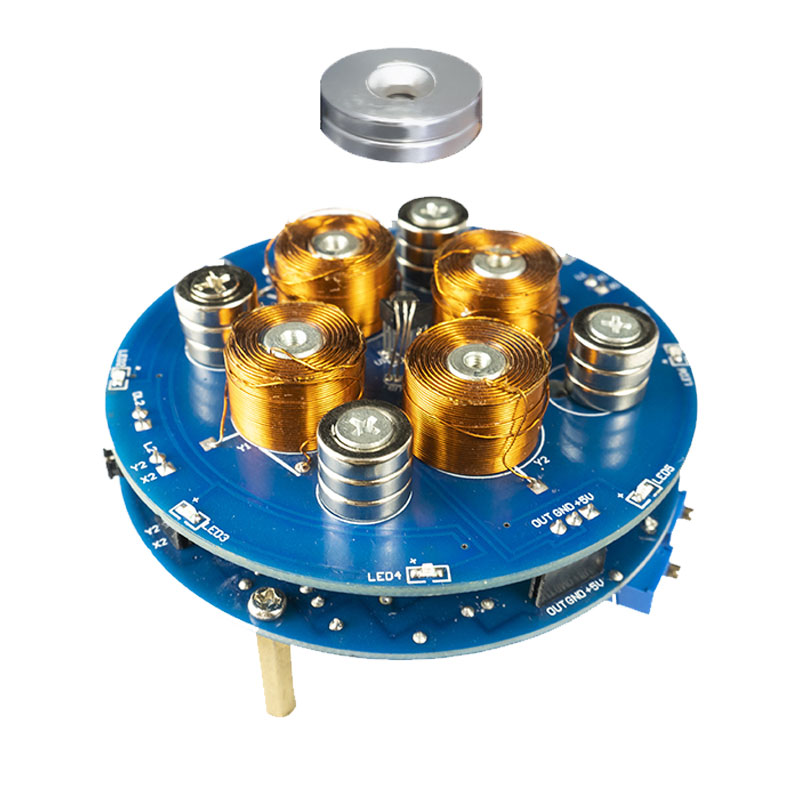
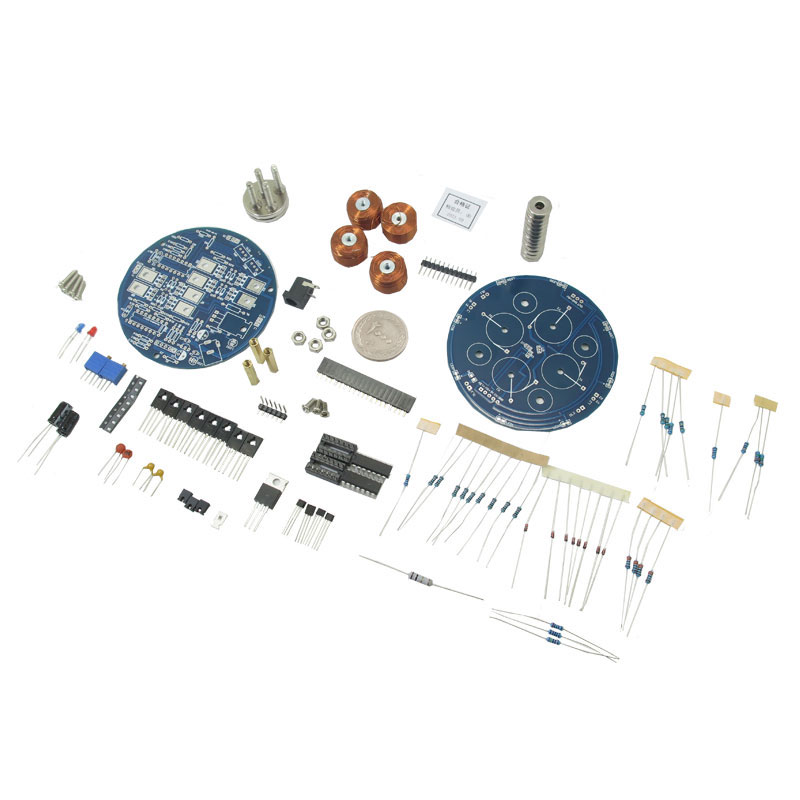
کیت ماژول آهنربای معلق با چهار سیم پیچ
این کالا شامل مرجوعی نمی شود و این ماژول به صورت کیت و اسمبل نشده به فروش می رسد.
کاربرد کیت ماژول تولید کننده مغناطیس:
- آزمایشگاه
- جواهر فروشی
- موزه
مشخصات کیت ماژول تولید کننده مغناطیس:
- ولتاژ تغذیه: 9 تا 12 ولت
- توان مصرفی: 10 تا 12 وات
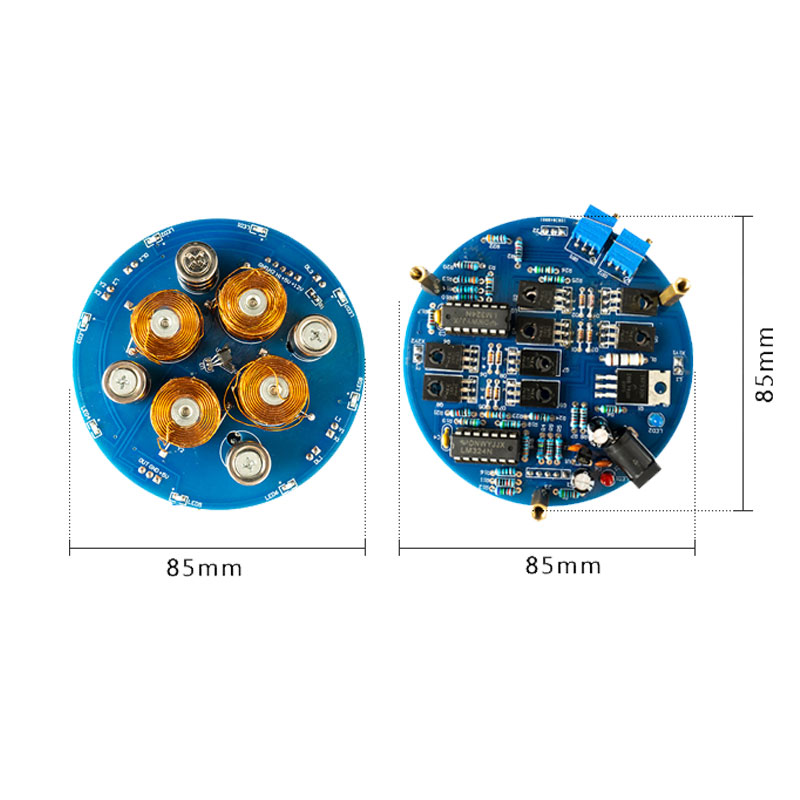
- قطر: 85 میلی متر، ارتفاع: 45 میلی متر
- وزن قابل تحمل: 100 تا 150 گرم
- وزن ماژول: 500 گرم
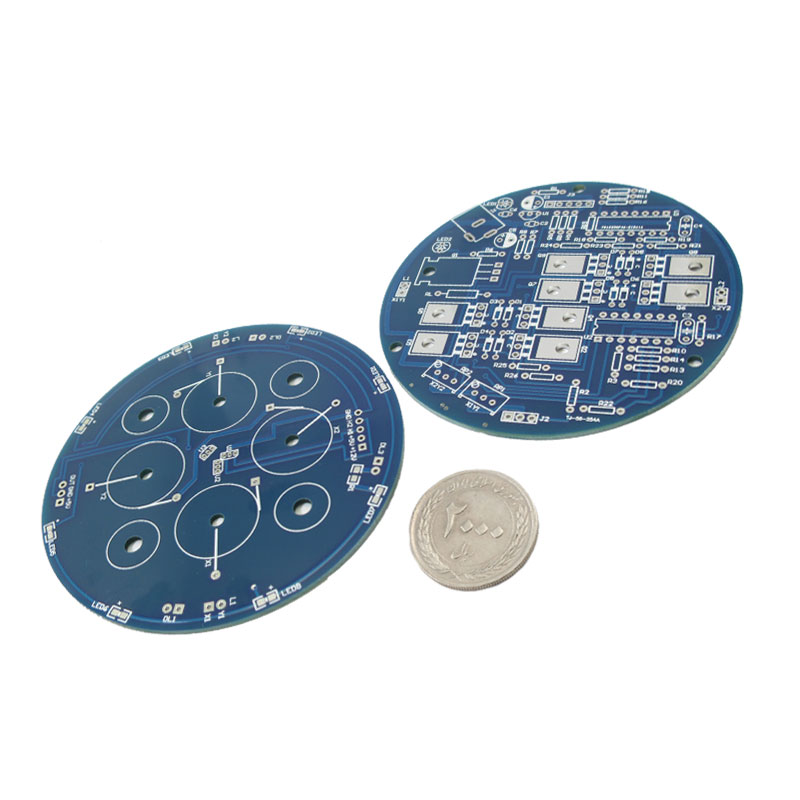
اقلام کیت آهنربای معلق:
- دو برد PCB
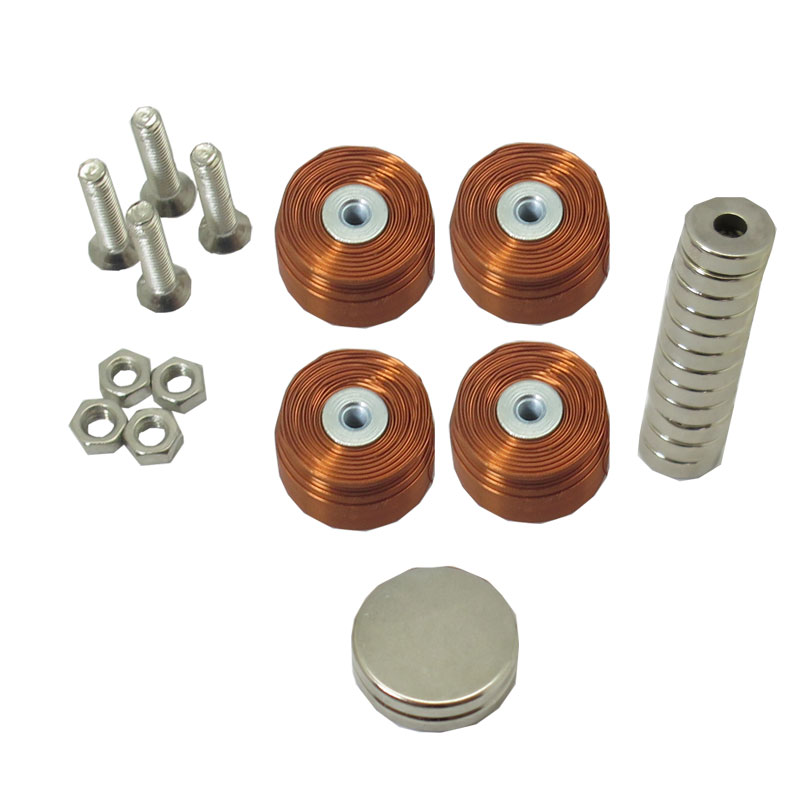
- 2 آهنربای قوی بزرگ
- 4 سیم پیچ
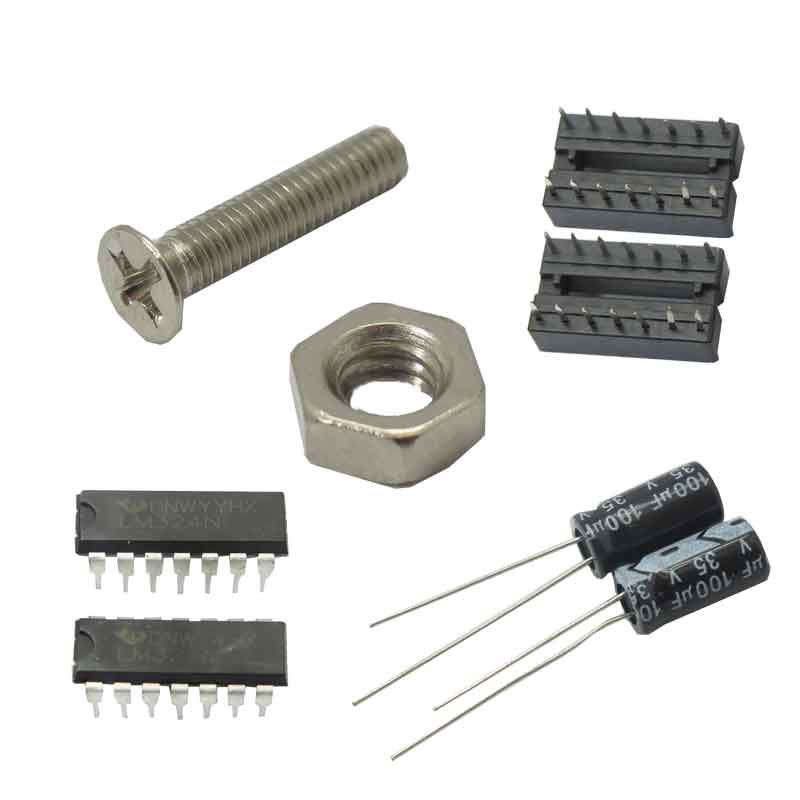
- 4 پیچ و مهره
- 12 عدد آهنربای کوچک
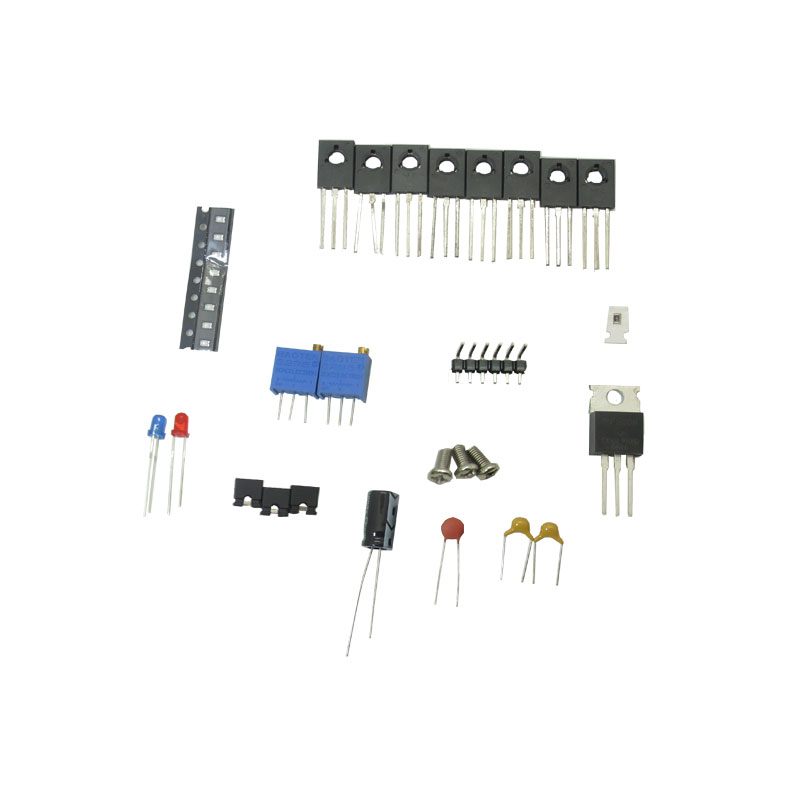
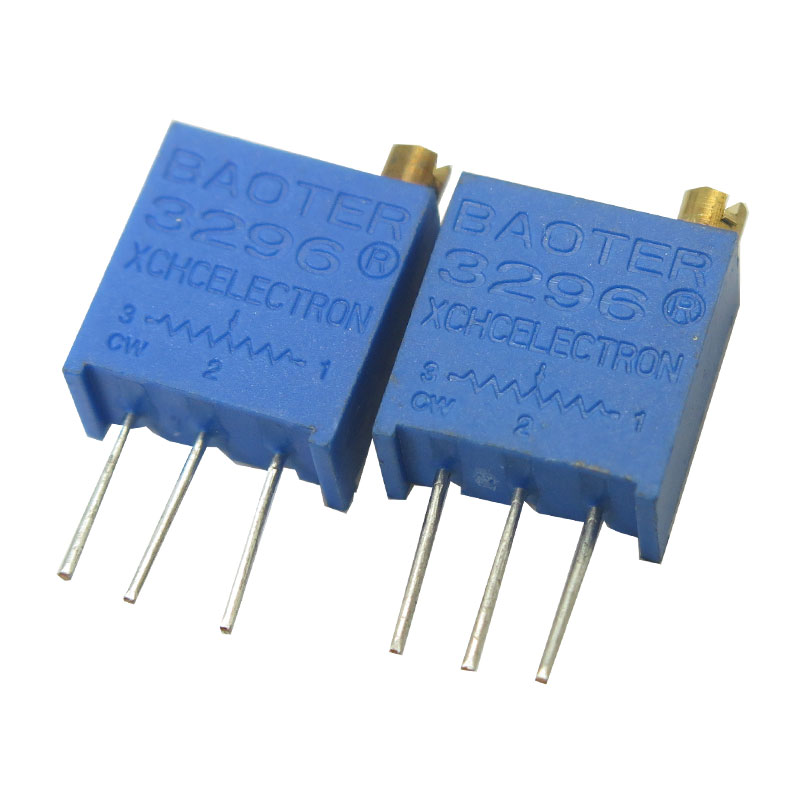
- یک بسته شامل ترانزیستور، ال ای دی، مقاومت، پین هدی، بیس آی سی، رگولاتور، اپ امپ، پتانسیومتر، خازن
مستندات:
Array
Description:
Magnetic levitation (maglev) or magnetic suspension is a method by which an object is suspended with no support other than magnetic fields. Magnetic force is used to counteract the effects of the gravitational force and any other forces.
Assembly tips:
1. Screen printing on the driver board is all correct. Use it as guide for placing c omponents.
2. All transistors are mounted the same: pin 1 is the left pin when looking at the printed side of the transistor and goes in the square solder pad.
3. Mounting the coils: The inside wire of each coil goes to the labelled solder pad between the coil and outside edge of PCB. The outside wire of coils Y1 and X1 g o to the solder pads at bottom right of coil X2. The outside wires of coils Y2 and X 2 go to the solder pads at bottom left of coil X2.
4. DL1 and DL2 are for the two jumper blocks. The jumpers need to be installed for the coils to work.
5. IMPORTANT TIP - positioning the hall effect sensors. H1 printed side faces X1, H2 printed side faces X2, H3 has leads bent 90 degrees so printed side faces up. Mount the sensors so that the tops of H1 and H2 and the face-up side of H3 are a ll the same level - 1/2 to 2/3 the height of the coils. The sensors might need to be de-soldered and the height adjusted to find the right level where the floating mag net sits smoothly and quietly. If too high the floating magnets will vibrate and tip over.
6. Set the multi turn trimpots to half way before powering up. They are a 30 turn t rimpots, so 15 turns is a good place to start. These trimpots centre the floating m agnet above the 4 coils.
Features:
Product Name: Magnetic Levitation Electronics Production Kit
Power Supply: DC 9-12V
Power consumption: 10-12W
Size: diameter 85mm, height 45mm
Withstand weight: 100-150G
Package Weight: 500G